Buttermilk-Brined Roast Chicken 치즈불닭
 4
servings
4
servings About
1¾ hours, plus overnight marinating
About
1¾ hours, plus overnight marinating-
 Samin
Nosrat
Samin
Nosrat
 Meat
Meat
This recipe, adapted from Samin Nosrat’s “Salt Fat Acid Heat,” is inspired by the Southern grandma method of marinating chicken overnight in buttermilk before frying it. You’re roasting here, but the buttermilk and salt still work like a brine, tenderizing the meat on multiple levels to yield an unbelievably juicy chicken. As an added bonus, the sugars in the buttermilk will caramelize, contributing to an exquisitely browned skin. Be sure to leave 24 hours for marinating the chicken. While the beauty of roast chicken is that you can serve it anytime, anywhere, try serving it alongside panzanella, which plays the role of starch, salad and sauce.
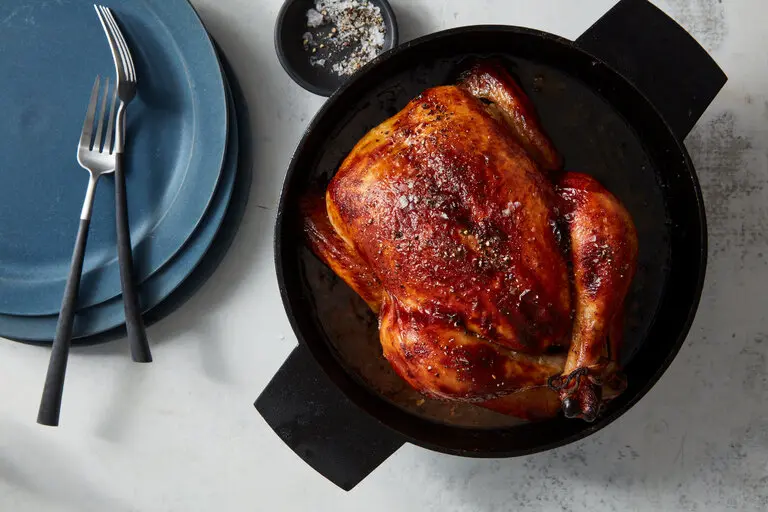
Romulo Yanes for The New York Times.
Total Time:
About 1¾ hours, plus overnight marinating, Classement : 5
étoiles, (6,983) critiques
Featured in: The Single Most Important Ingredient
Learn: How to Roast Chicken https://cooking.nytimes.com/guides/11-how-to-roast-chicken
INGREDIENTS
Yield: 4 servings
1 chicken, 3½ to 4 pounds
Kosher salt or fine sea salt
2 cups buttermilk
PREPARATION
Step 1
The day before you want to cook the chicken, remove the
wingtips by cutting through the first wing joint with
poultry shears or a sharp knife. Reserve for stock. Season
chicken generously with salt and let it sit for 30
minutes.
Step 2
Stir 2 tablespoons kosher salt or 4 teaspoons fine sea salt
into the buttermilk to dissolve. Place the chicken in a
gallon-size resealable plastic bag and pour in the
buttermilk. (If the chicken won’t fit in a gallon-size bag,
double up 2 plastic produce bags to prevent leaks and tie
the bag with twine.)
Step 3
Seal the bag, squish the buttermilk all around the chicken,
place on a rimmed plate, and refrigerate for 12 to 24 hours.
If you’re so inclined, you can turn the bag periodically so
every part of the chicken gets marinated, but that’s not
essential.
Step 4
Pull the chicken from the fridge an hour before you plan to
cook it. Heat the oven to 425 degrees with a rack set in the
center position.
Step 5
Remove the chicken from the plastic bag and scrape off as
much buttermilk as you can without being obsessive. Tightly
tie together the legs with a piece of butcher’s twine. Place
the chicken in a 10-inch cast-iron skillet or a shallow
roasting pan.
Step 6
Slide the pan all the way to the back of the oven on the
center rack. Rotate the pan so that the legs are pointing
toward the rear left corner and the breast is pointing
toward the center of the oven. (The back corners tend to be
the hottest spots in the oven, so this orientation protects
the breast from overcooking before the legs are done.)
Pretty quickly you should hear the chicken sizzling.
Step 7
After about 20 minutes, when the chicken starts to brown,
reduce the heat to 400 degrees and continue roasting for 10
minutes.
Step 8
Move the pan so the legs are facing the rear right corner of
the oven. Continue cooking for another 30 minutes or so,
until the chicken is brown all over and the juices run clear
when you insert a knife down to the bone between the leg and
the thigh. If the skin is getting too brown before it is
cooked through, use a foil tent. Remove it to a platter and
let it rest for 10 minutes before carving and serving.